How it Works

Step 1

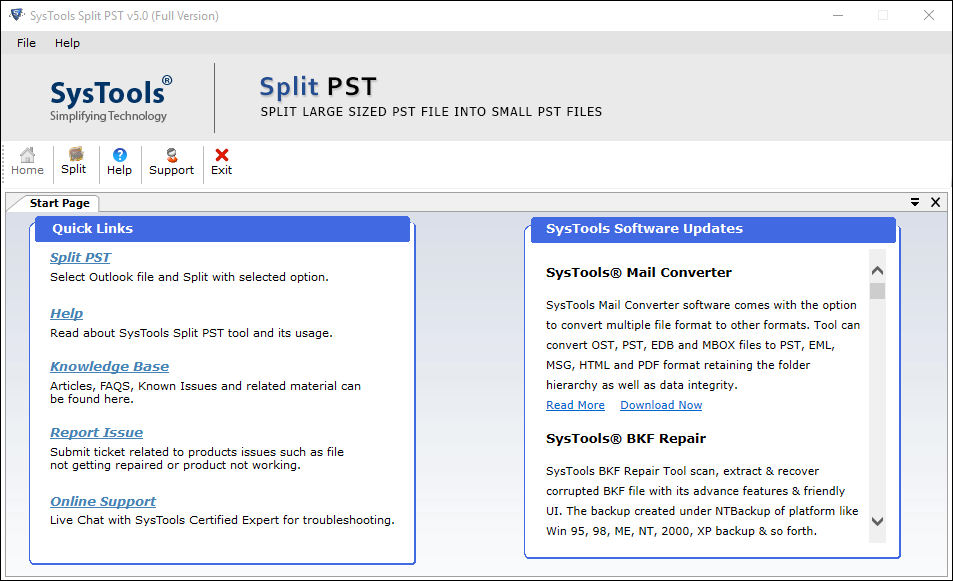
Install the Split PST software after downloading and initiate it using the given path: Start Menu (Window's Icon) >> All Programs >> Split PST Software Or search the term "Split PST Software" in the Window's search box.

Split PST software


Step 2

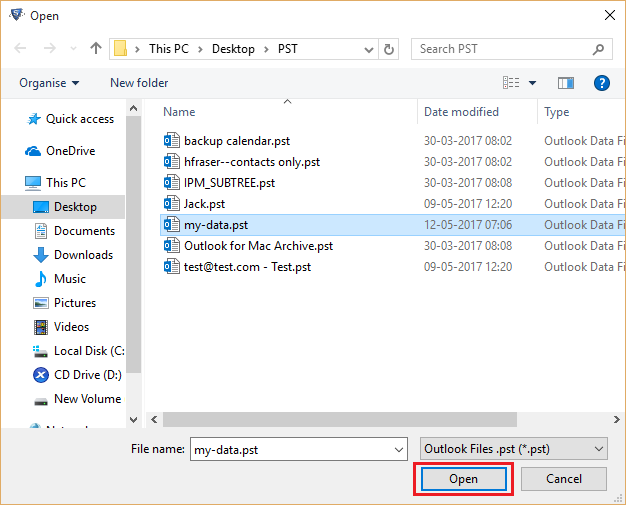
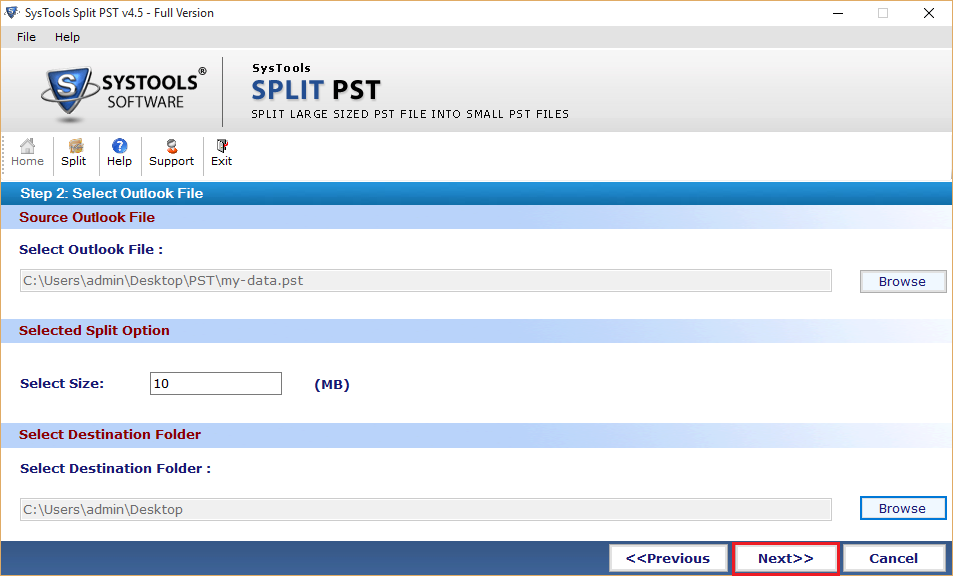
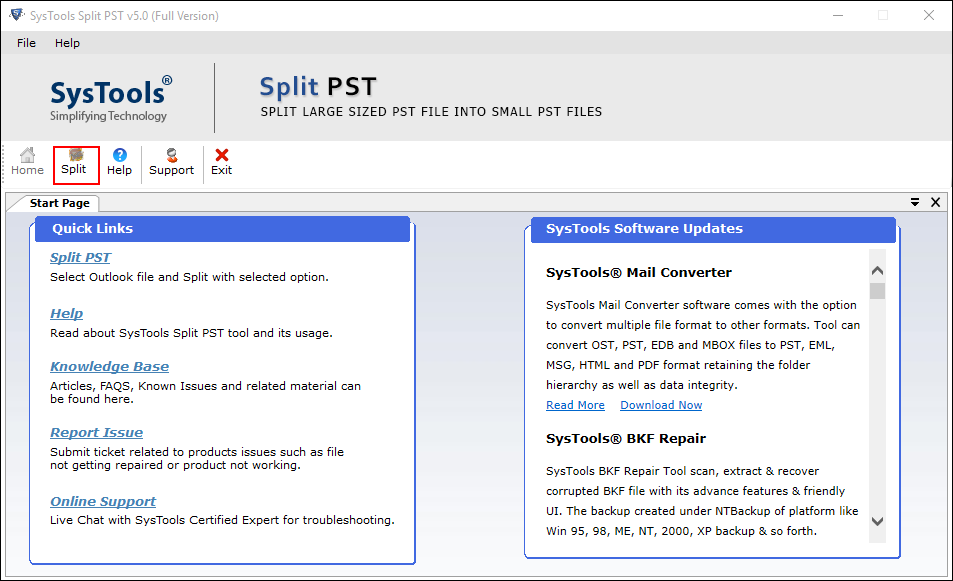
Begin the breakdown process of the Outlook PST file by clicking on "Split" button.

Click on Split


Step 3

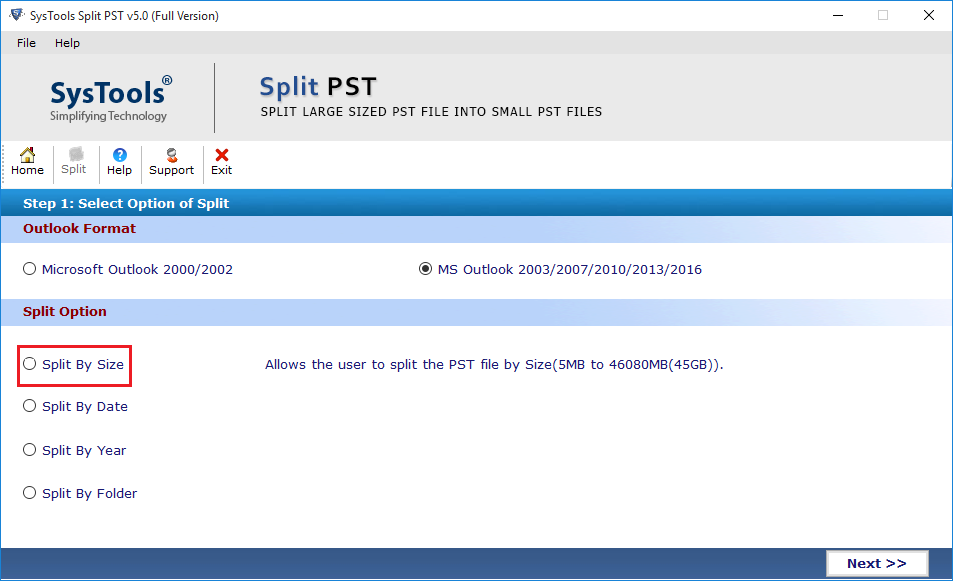
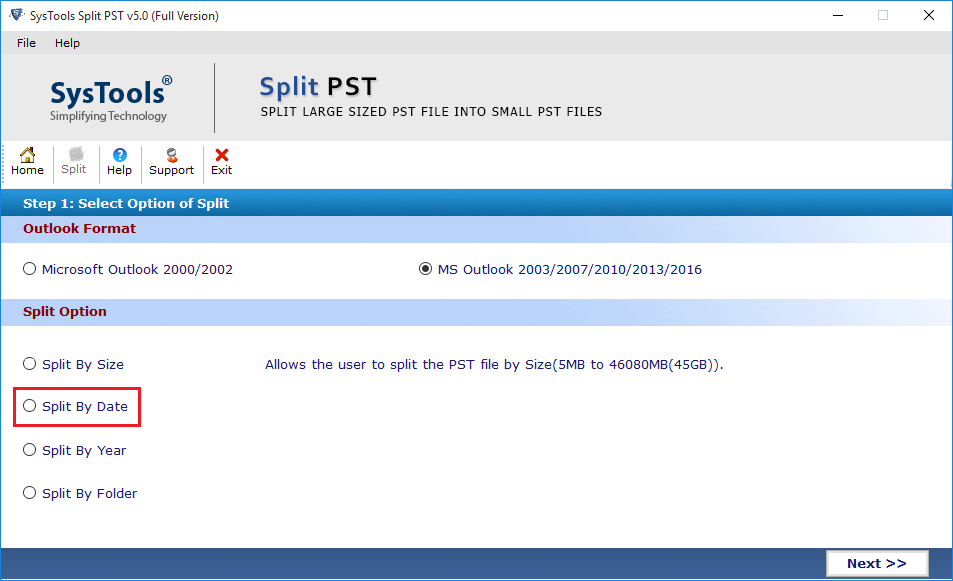
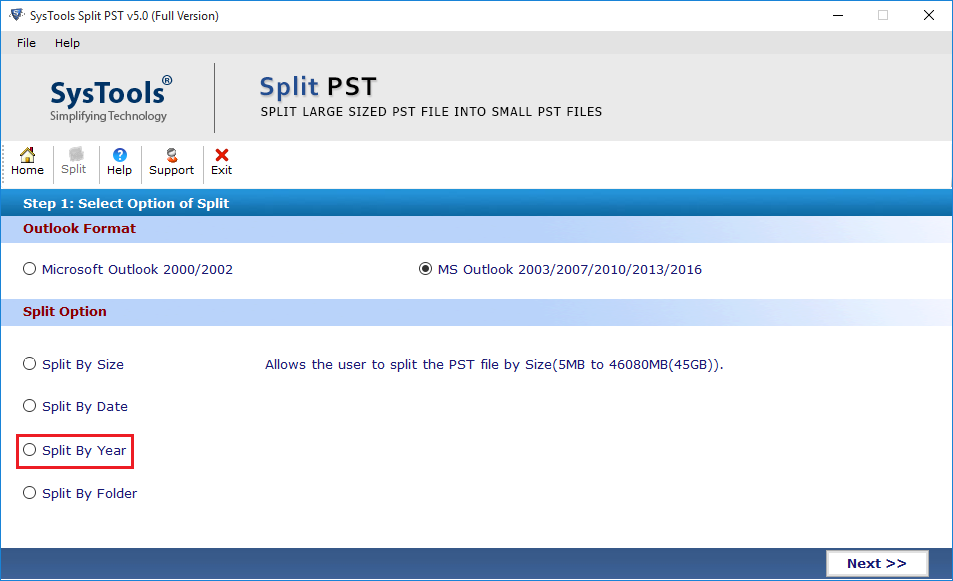
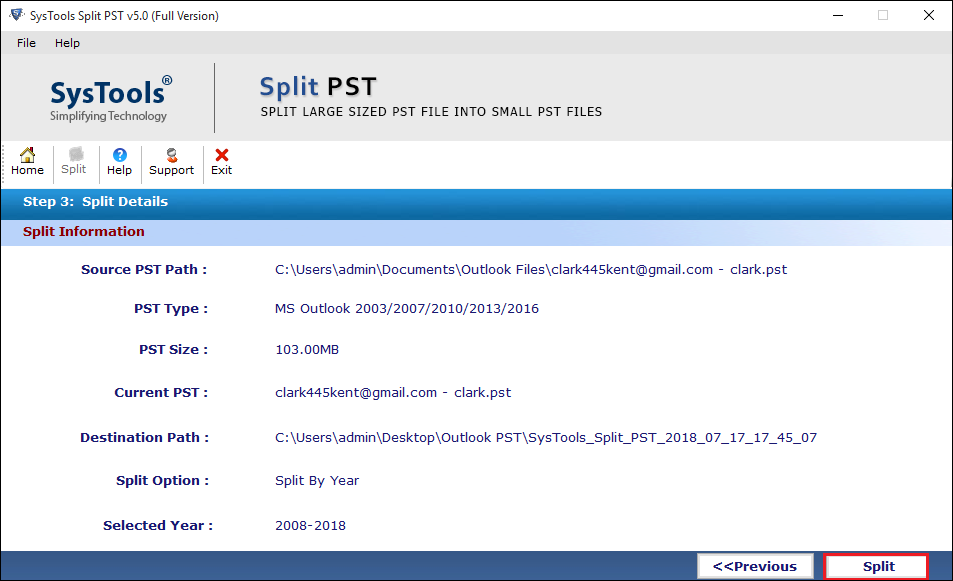
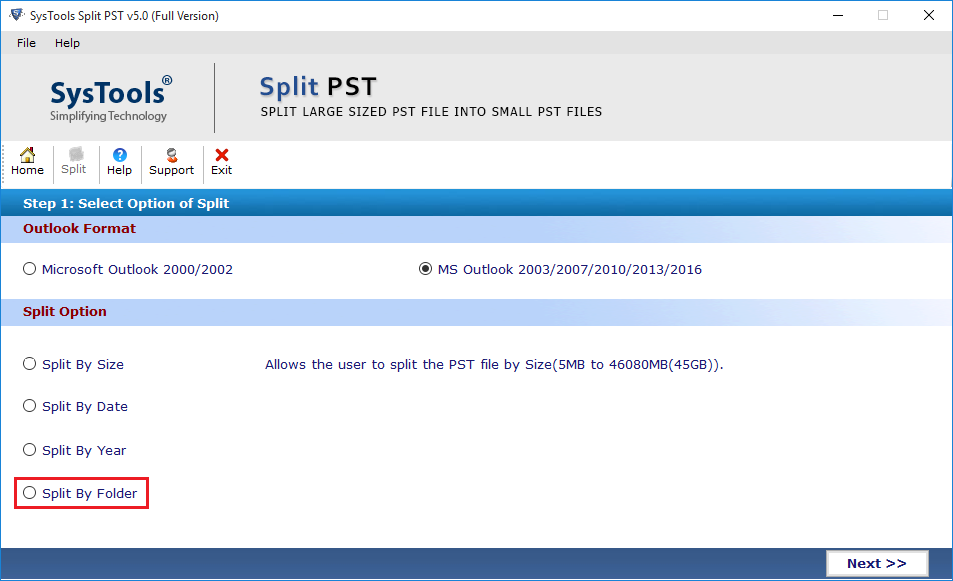
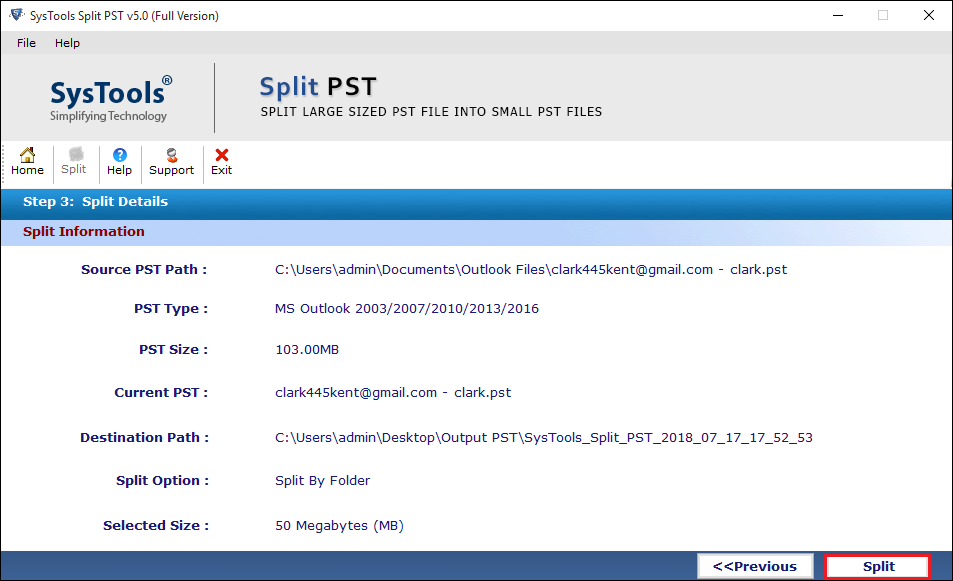
Choose the PST file format (ANSI & UNICODE) in which you want to divide the current Outlook Data file.

Basically, the software represents these options in the given ways:

  • Microsoft Outlook 2000/2002
  • MS Outlook 2003, 2007, 2010 (32 bit)
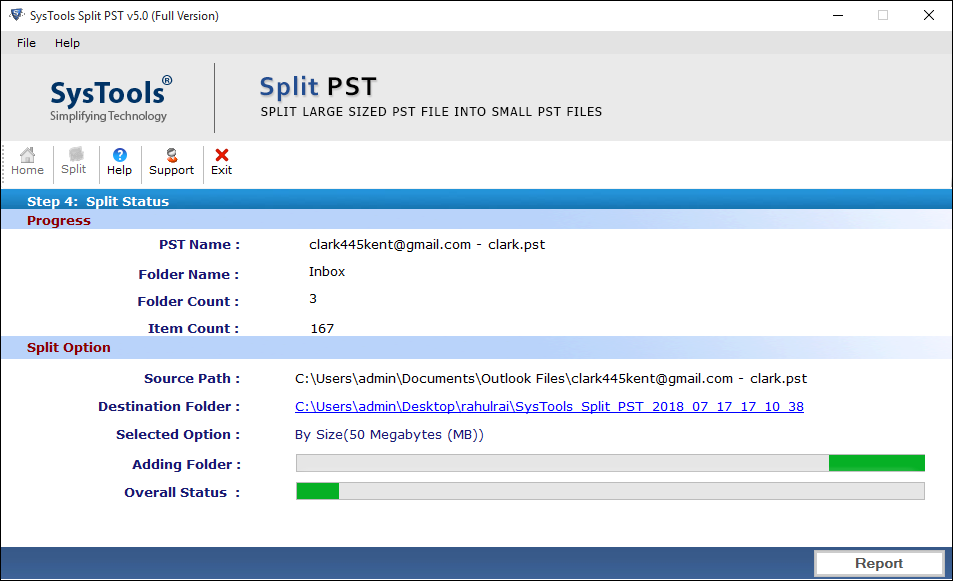
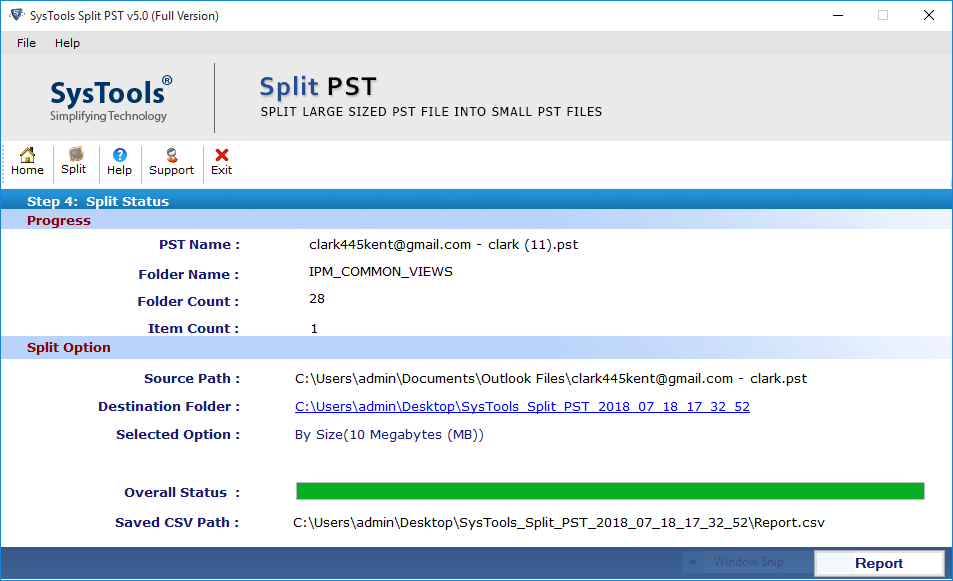
Select Outlook format


Step 4

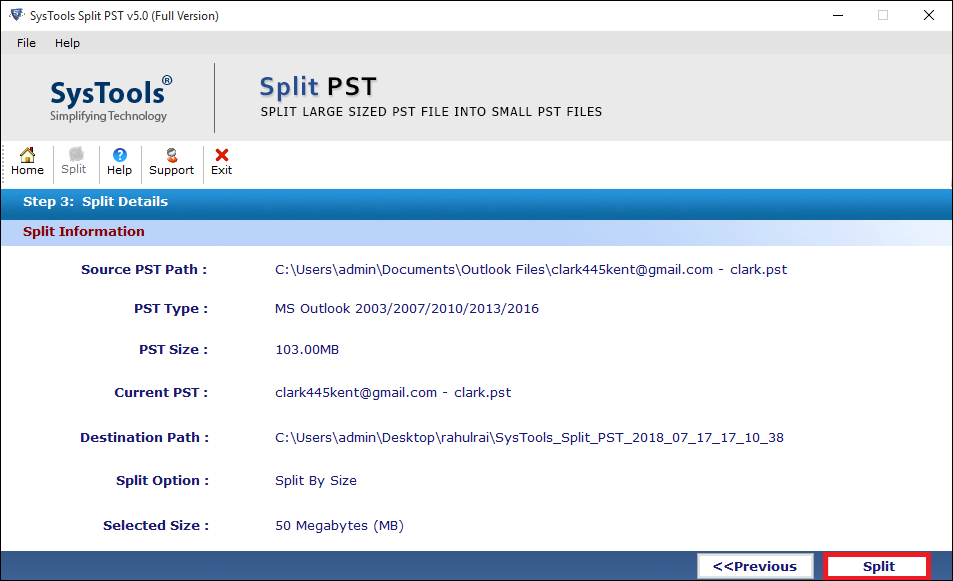
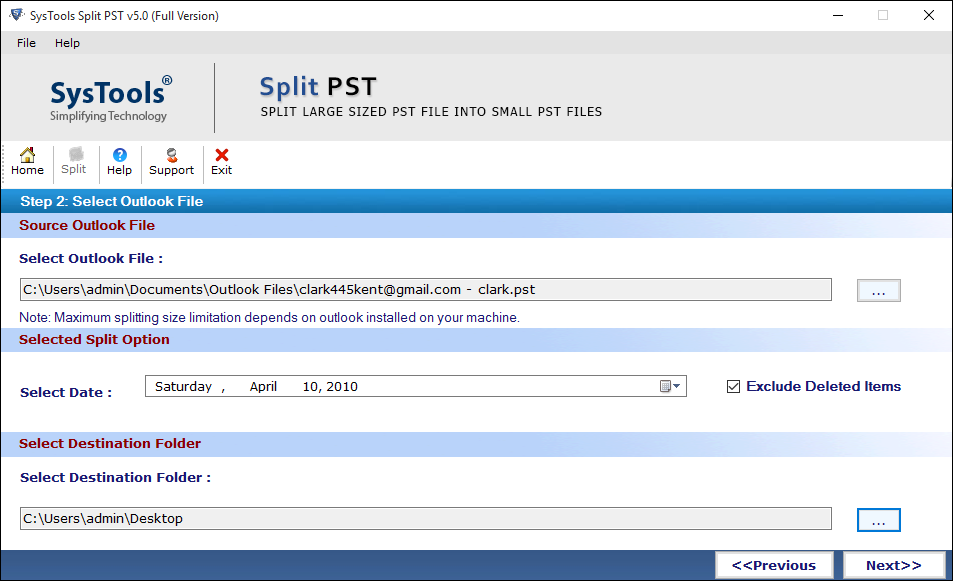
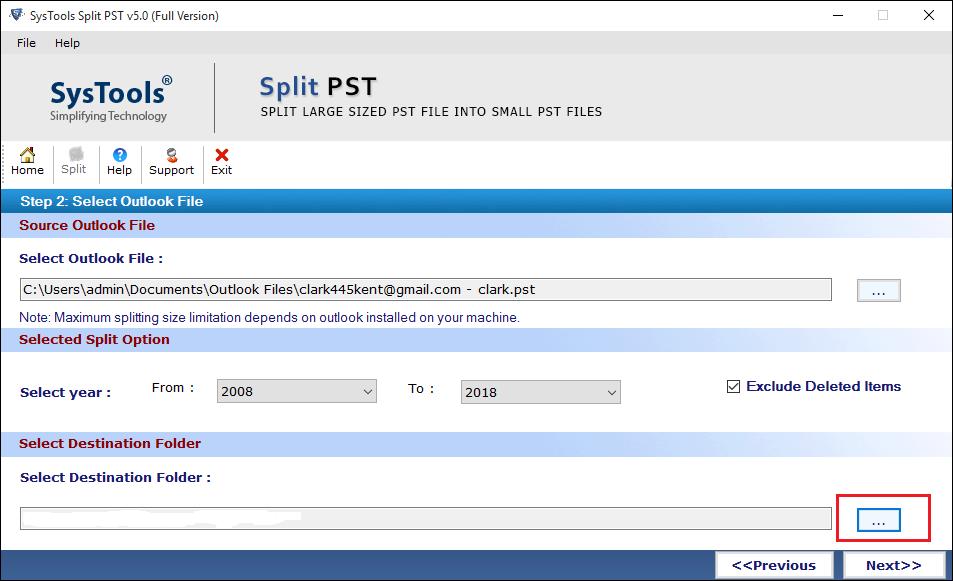
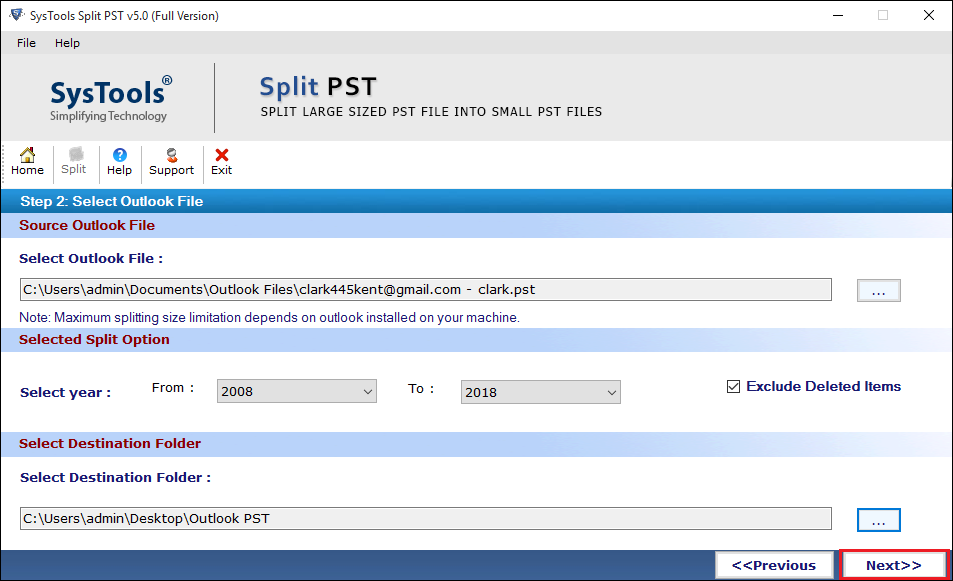
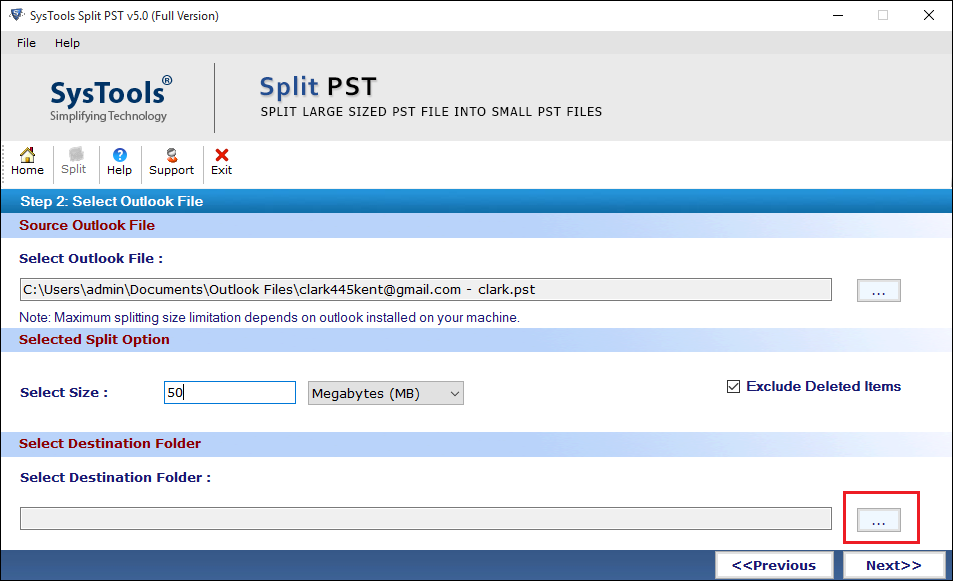
Split option gives various ways to split PST files and helps users to divide the PST file according Size, Date, Year and Folder.

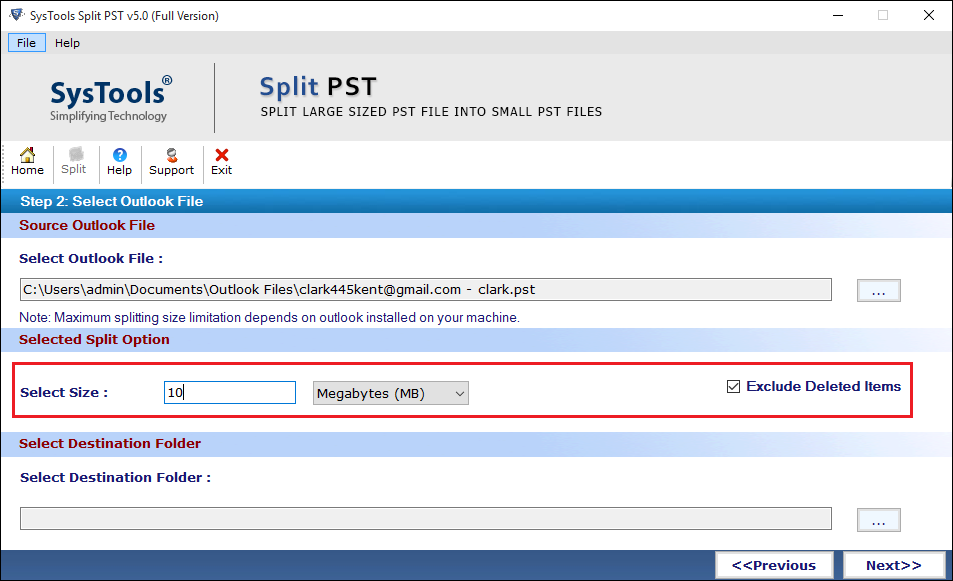
  • Split by Size: Choose it to breakdown PST file on the behalf of size.
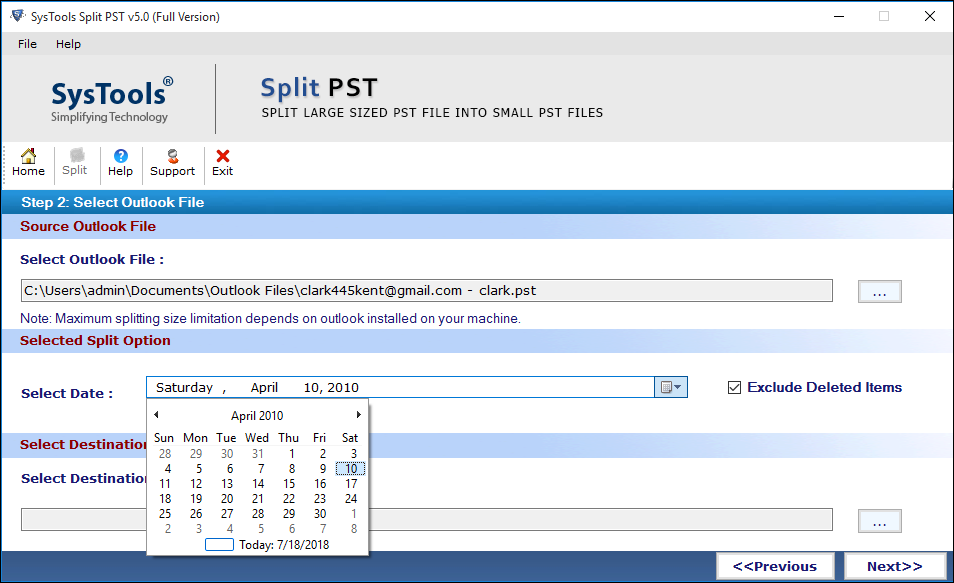
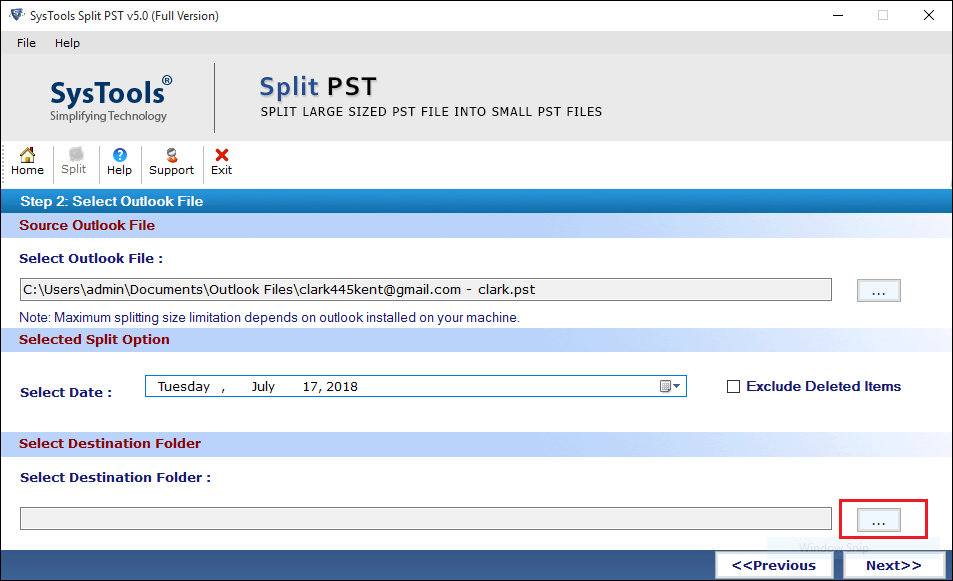
  • Split by Date: Choose it to split Outlook database of selected date range.
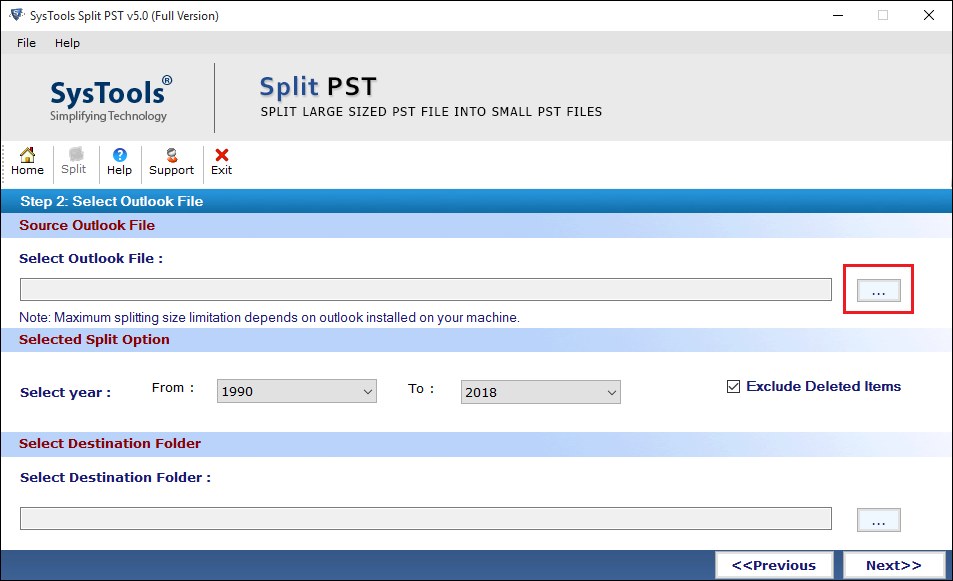
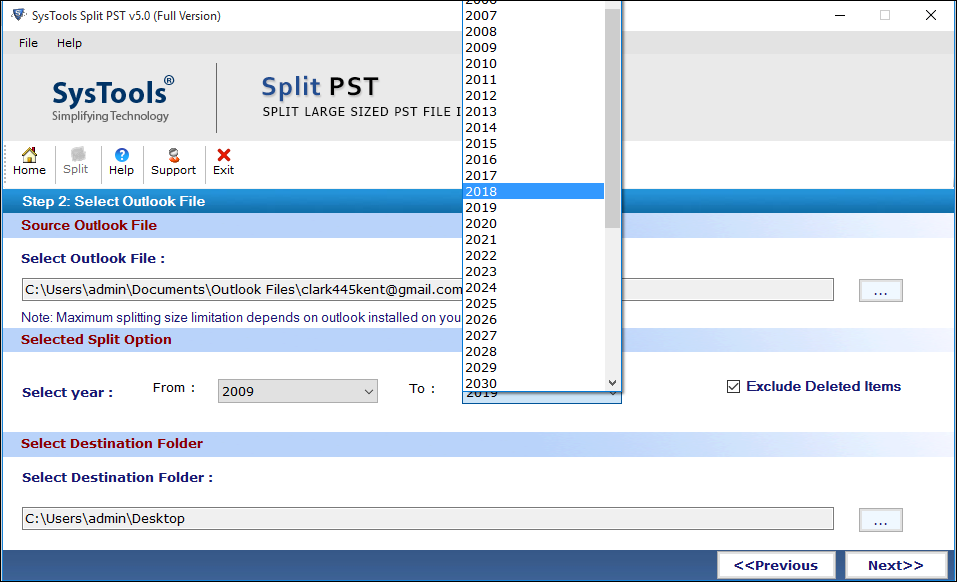
  • Split by Year: Divide Outlook PST according of entire data range.
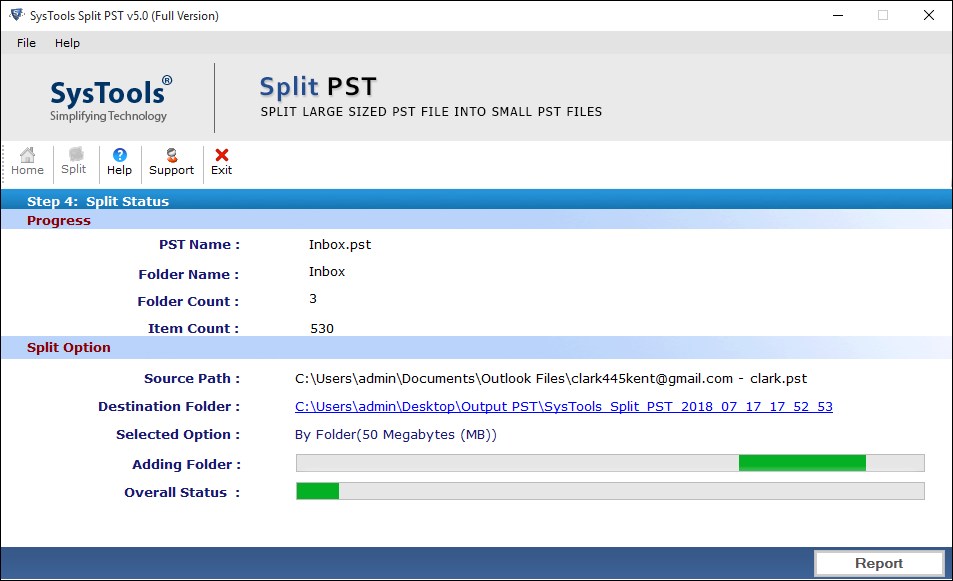
  • Split by Folder: Divide internal folder of PST file such as Inbox, Outbox, Sent Items, etc. separately.

See Below How to Split Large PST File

Step 1

Select "Split By Size" option and do a click on "Next".

Select option to split PST by size


Step 2

Browse the large size of PST file using "Browse" button on which you want to perform split.

Browse PST File


Step 3

Choose the Outlook Data file and click on "Open" button.

Click on Open


Step 4

Come to the section from where you will have to assign the specific size limit for division.

select size


Step 5

Now, click on "Browse" option under the "Select Destination Folder" and define a location to save resultant PST file.

select required location


Step 6

After enforcing all three option to break down the PST file, click on "Next" button.

Click on next


Step 7

Split PST Tool will show the essence of entire steps which are made by a users till yet to perform division. Now, initiate the splitting task by clicking on "Split" button.

Click on split


Step 8

See the processing of the program on the screen via "Current Status".

See current status


Step 9

After just completion of process, the software will pop-up a message on the screen.

Complete Process


Step 10

Finally, software has done its work. Now look up and compare the difference between various properties of old PST file & new PST file with the help of auto-generated CSV file by Split PST Tool. It also tells users that how the tool has partitioned the attribute of each folder.

Compare PST


Step 1

Choose "Split By Date" option and click on "Next" button.

Select Split PST by date


Step 2

Insert the PST file using "Browse" option.

browse PST by date


Step 3

Select PST file from the machine.

Open PST File


Step 4

Select a date to split the PST file into two parts.

select date


Step 5

Allocate the destination path to save divided PST file using "Browse" button.

browse folder


Step 6

Make a click on "Next" button to move onto the next step.

start Split Process


Step 7

Get all details on the screen which you have applied to perform division like source PST Path, PST Type, PST size, Current PST, etc. Read them and click on "Split" button.

Click on split button


Step 8

The application will start its mechanism of dividing PST file and show "Current Status" execution.

progress Report


Step 9

Get a pop message about the successful completion of the splitting process.

Complete Process


Step 10

Finally, the process has been completed. Click on "Compare PST" button and it will generate a CSV report, which explain the entire log details of division applied by software on per folder, about the source PST file, resultant PST file, sum and difference of data items also.

See Overall Status


Step 1

Choose "Split By Year" option and then click on "Next" button to move ahead.

Split PST By year


Step 2

In this step, you have to "browse" the PST file to execute using the Split PST software.

browse PST file


Step 3

Choose the PST file and input it within the machine.

Open PST


Step 4

Now, come to the main task of selecting the year range to split the database of PST file. Choose the year through "From" and "To" options.

Select by year


Step 5

Give a specific path to save the divided PST file and click on "Ok" or you can also create a folder to accomplish this task.

choose required location


Step 6

Make a click on the "Next" button after defining values for all the above options.

Start process


Step 7

Now, the Split PST utility will show you a screen having some illustrative attributes. After reading these infos, move further and click on "Split" button.

details of split PST


Step 8

Software starts the mechanism of splitting the PST file along with providing the current status of entire execution.

progress report of split PST


Step 9

Division of PST file has been done and the tool will inform user about by showcasing a pop-up message on the screen.

Complete process


Step 10

In the end, get a report in the Comma Separated Value (CSV file format) that detailed about the logs of execution by clicking on "Compare PST" option. This file contains what actually has performed with the PST file and what the new resultant PST file contains.

Split Status Report


Step 1

Simply, mark the "Split By Folder" check box and click on "Next".

Split PST by folder


Step 2

Browse your PST file that you want to split by approaching "Browse" button.

browse-pst-as-folder


Step 3

Choose the PST file and click on "Open".

Open


Step 4

Define the required PST file size in which you want to "break the Outlook data file".

Select Folder size


Step 5

Make sure about the location within the machine where you will save the resulting file and click on "Ok".

selection-of-destination


Step 6

Once you will fill all the above necessary options, click on "Next" button to move further.

spliting-process


Step 7

By clicking on "Next" option, the software will automatically pop-up all the information in a form of synopsis (including Soruce PST file, PST type, PST Size, Split option, etc.). View them and begin the Split function.

progress-report-of-splited-folder


Step 8

The tool starts showing the execution, which can be measured by green running status bar.

folder-status


Step 9

Once the utility will terminate the entire, it pop-ups a successful message on the screen.

complete-process


Step 10

Finally, click on "Compare PST" button which has added to provide a summary report about the execution's log. It also tells that how the software performed division on the PST database by representing the initial and resultant values of each folder.

status-report